The Cold-Weather Dog: A Minneapolis-Style Logic for Keeping Every Bite Hot
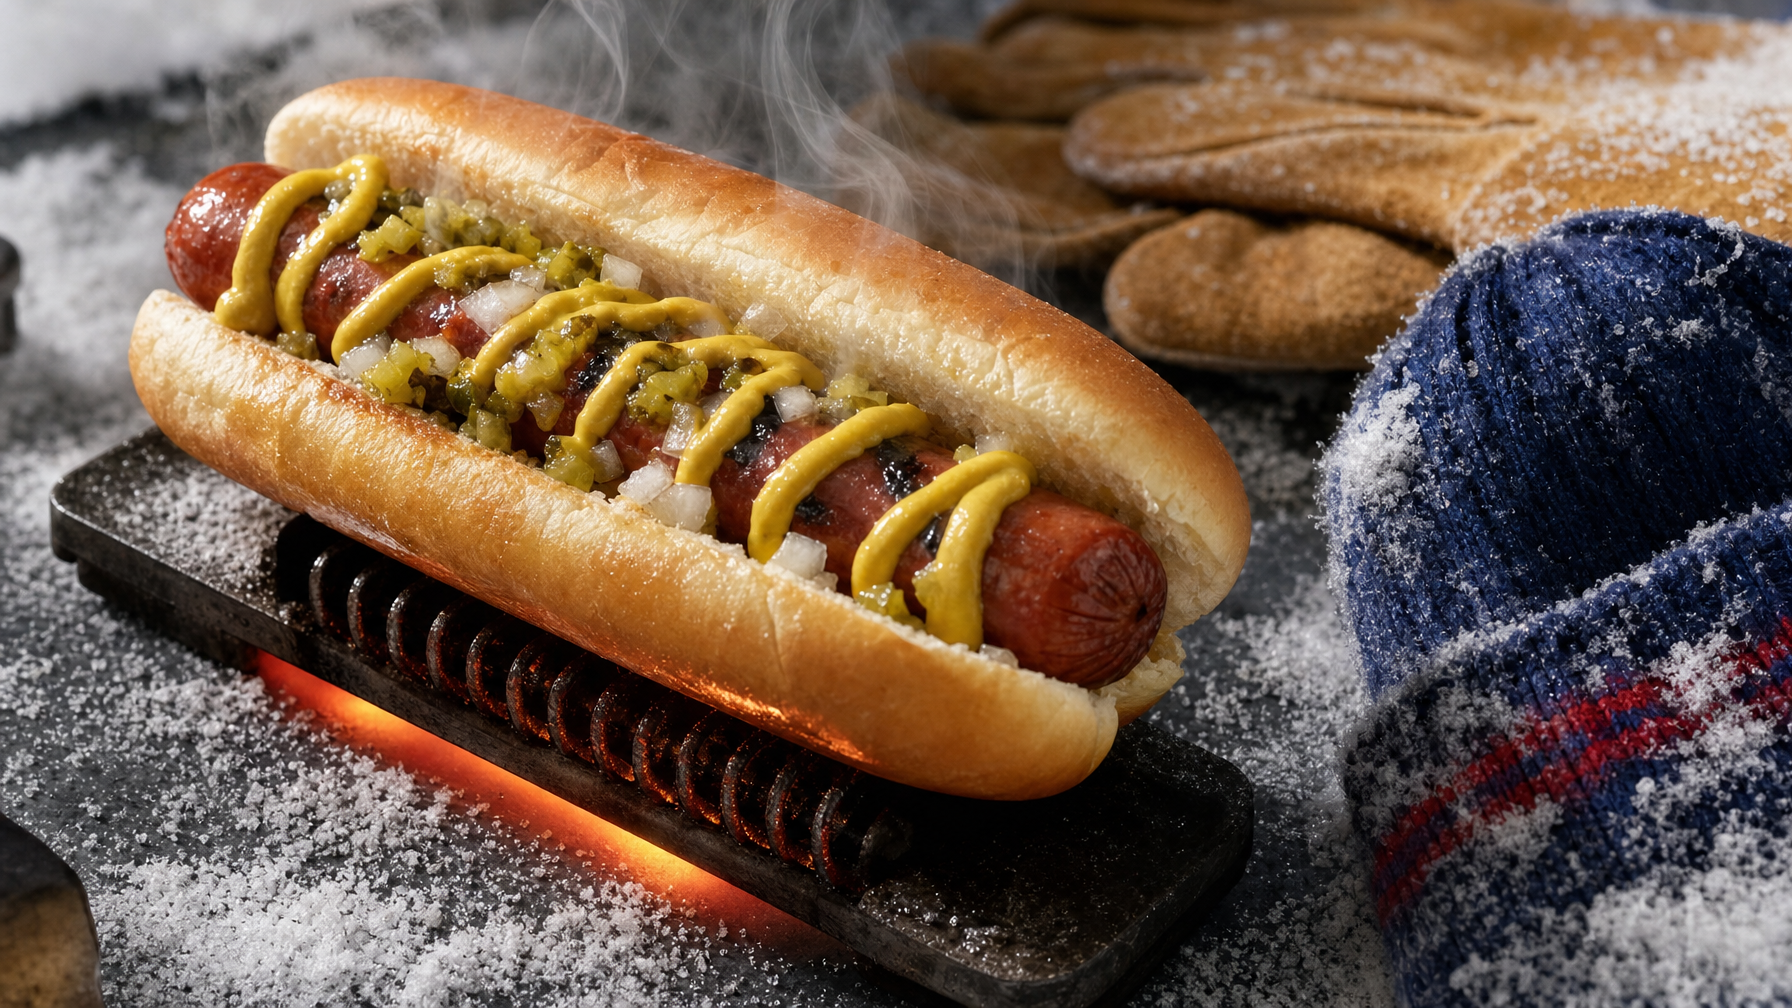
For hot-dog fans cooking or serving outside in Minneapolis-level cold, the answer is not more toppings. It is a build that resists heat loss: warm the bun, heat the dog all the way through, keep toppings warm or tightly controlled, and assemble at the exact moment someone is ready to eat. Minneapolis is the flavor logic here, not a claim that there is one official local cold-weather dog recipe. Cold air punishes exposed food, wet toppings, rushed assembly, and buns treated like edible packing foam. Jason’s lens comes from ten years, 50 states, and zero ketchup—a personal hot-dog position, not laboratory science—but the central opinion is sturdy: temperature management beats topping clutter every time.
1. Choose a dog that will not surrender to the tundra
Pick the style and size of hot dog before you heat anything. This workflow works with a beef, pork, turkey, or plant-based dog you already buy; the useful distinction is whether it can heat evenly and sit briefly without splitting, drying out, or becoming a sad, wrinkled little baton.
Choose a dog sized for its bun, then aim for two things: a center that is hot all the way through and, if your method permits, an exterior with browning or a firmer snap. “Warm in the middle” is not the assignment. Neither is turning the casing into confetti.
- Keep the package available and follow its safe-handling and heating directions.
- Have buns and toppings ready before cooking begins; a finished dog should not wait around while you hunt for an onion.
- If you are feeding several people outdoors, cook in small batches rather than holding a large pile of finished dogs in the cold.
2. Warm the bun before the wind turns it into a sponge
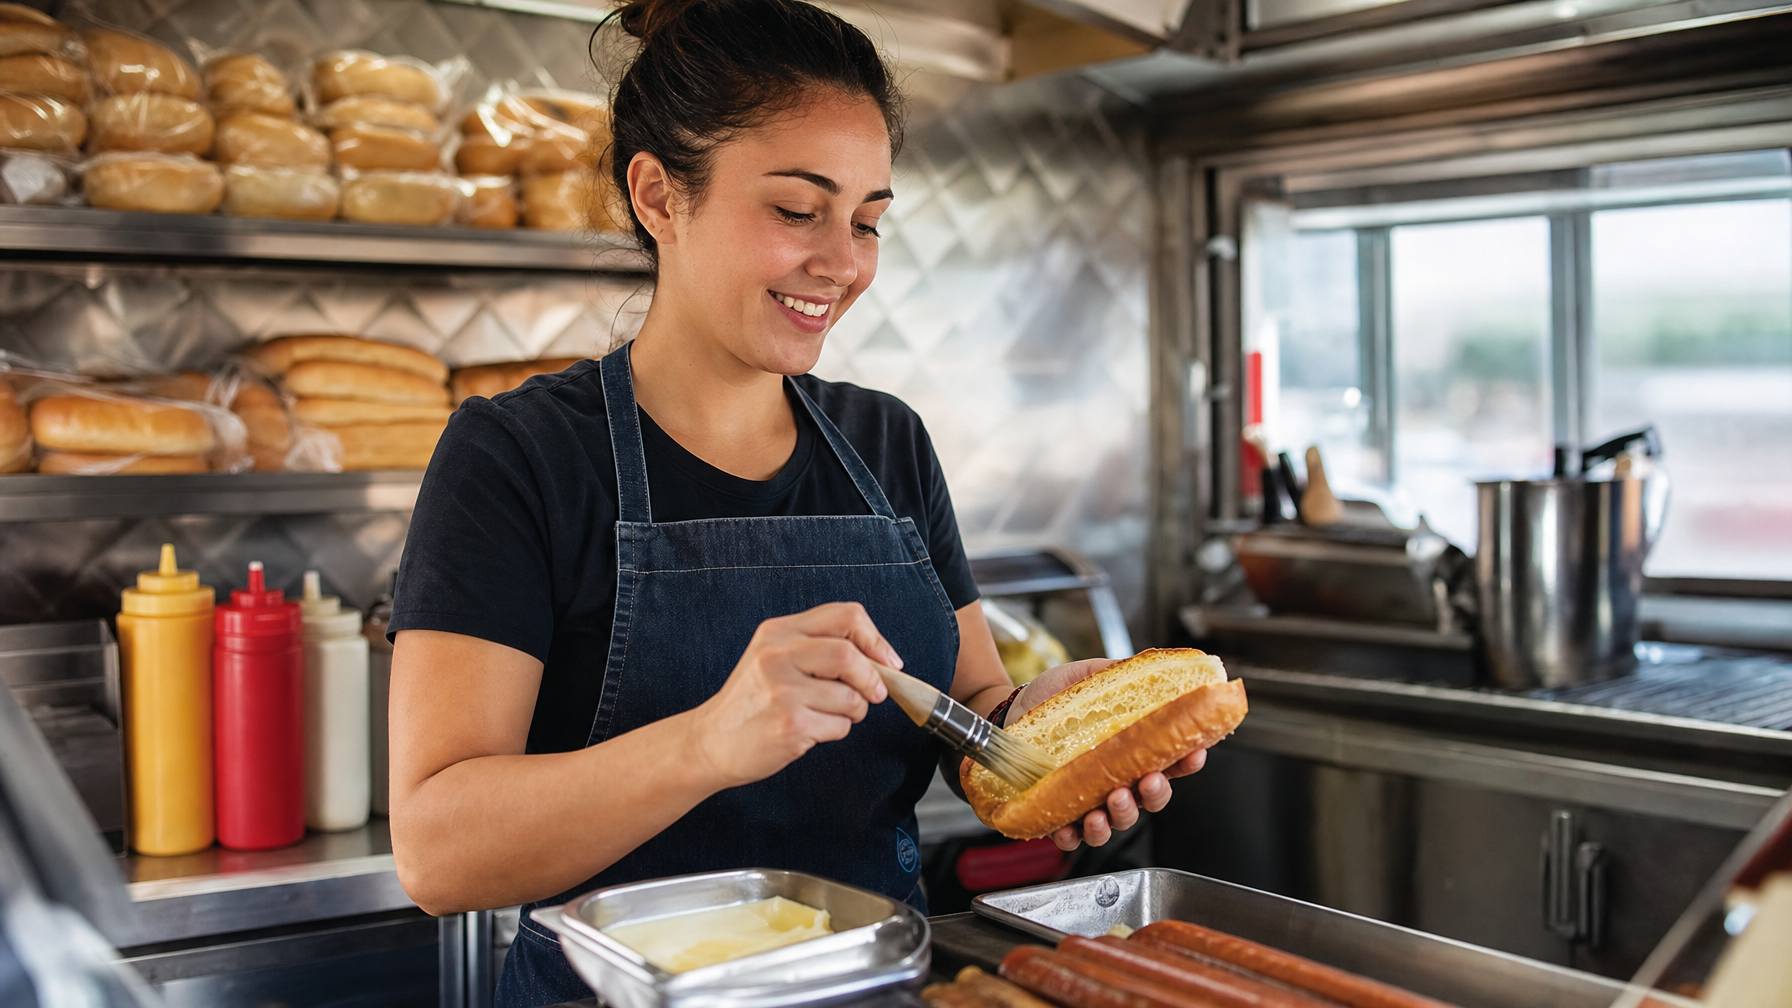
Make bun-warming your first active prep move. A piping-hot dog dropped into a cold, dry bun is not finished; it is a temperature argument you have already lost.
Your target is a bun that is soft and warm, not toasted so hard it shatters at first bite. Pick the approach that fits your setup:
- Covered steamer: Warm buns gently until pliable. Keep them covered afterward.
- Brief grill warm-up: Set buns over gentle heat just long enough to warm them, ideally with the grill covered.
- Low oven: Warm buns in a covered oven-safe dish or loosely covered pan while the dogs cook.
Once warm, cover the buns. In cold air, an uncovered bun gives up heat with the enthusiasm of a screen door in January.
3. Heat the dog twice: first for the center, then for the swagger
Use a two-part strategy: gentle heat gets the center hot; direct heat gives the outside character. For a dependable primary method, use a covered pan followed by a quick sear.
- Place the dogs in a skillet with a small splash of water.
- Cover the skillet and warm over moderate heat until the dogs are heated through, following the package directions for the product in front of you.
- Remove the cover and let any remaining water cook away.
- Add a little oil only if needed, then turn the dogs briefly over direct pan heat for browning and a firmer exterior.
- Move immediately to assembly. Do not leave them parked in the pan while the weather wins.
Grilling, steaming, and other stovetop methods can also work. The principle does not change: warm the interior without wrecking the exterior, then finish to the texture you want. The sensory checkpoint is simple: the dog should be visibly hot on the outside, hot throughout when bitten, and intact unless a split, blistered exterior is deliberately your thing.
4. Read toppings like a weather report: warm, contained, no puddles
Sort every topping before it gets near the bun. In cold conditions, toppings are not decorative confetti; they are tiny thermal decisions.
| Group | Examples | Cold-weather move |
|---|---|---|
| Warm additions | Chili, beans, sautéed onions, cheese sauce | Heat them before assembly and use a sensible amount. |
| Room-temperature accents | Mustard, a small spoonful of relish, chopped onion | Keep portions modest so they brighten the dog without chilling or soaking it. |
| Cold or watery ingredients | Refrigerator-cold condiments, watery vegetables, loose sauces | Use sparingly, drain where appropriate, or leave them off for an outdoor serving. |
If the build includes something substantial—chili, beans, sautéed onions, or cheese sauce—warm it. A cold scoop of anything heavy can create a chilly center and turn the bun to mush before the first bite.
Jason’s no-ketchup stance is brand opinion, stated plainly and without issuing anyone a condiment citation. Mustard, relish, onions, and other accents can be excellent when they suit the specific dog. The rule is not “add all of them.” The rule is “make every topping earn its moisture.”
5. Build one dog at a time, like you mean it
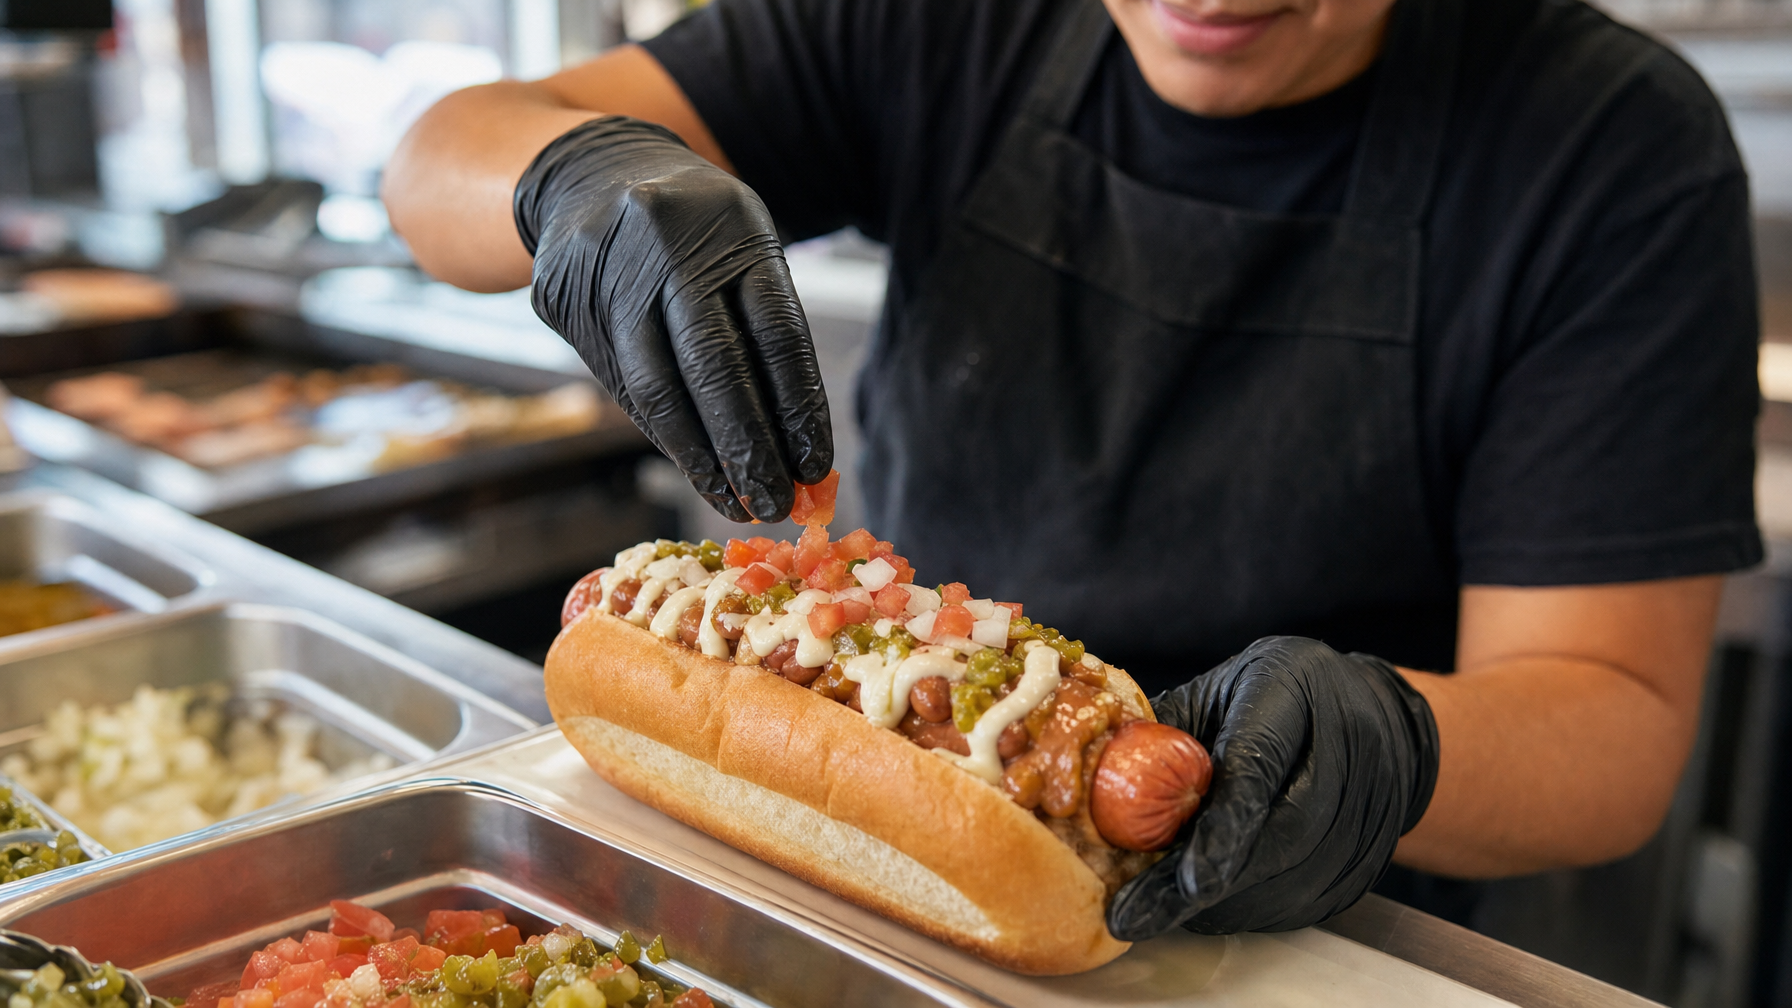
Assemble indoors or in the most sheltered spot available. Arrange every component first: covered warm buns, hot dogs, warm toppings, finishing accents, plates. Once the bun opens, the clock starts being rude.
- Open one warmed bun.
- Set in one hot dog immediately.
- Add any warm, heat-retaining topping next.
- Finish with small room-temperature accents.
- Hand it off or eat it now.
Toppings can provide a little shelter from cold air, but do not bury the dog beneath a geological layer of sauce. The snap deserves a speaking role. Above all, do not pre-build a tray of dogs for later. “Later” is where hot dogs go to become lukewarm paperwork.
6. Let the first bite audit the whole operation
Taste immediately. Steam looks dramatic, but the whole bite gets the final vote. Check four things:
- Center heat: Is the dog genuinely hot throughout?
- Bun warmth: Is the bun still soft and warm rather than cold and dry?
- Topping temperature: Did a cold or watery addition chill the bite?
- Structural integrity: Can you eat it without the bun dissolving or the toppings escaping into the snow?
If it is lukewarm, do not merely blast the assembled dog with more heat and hope for a miracle. Find the failure. A cold bun needs rewarming. A chilled topping needs heating, reducing, draining, or a smaller portion. A dog that never got fully hot needs more gentle heating before its finishing sear. Rebuild promptly, then test again. This is quality control with mustard nearby, which is the only kind worth having.
7. Serve as if the weather has made this personal
Keep the serving sequence brutally simple: heat components, cover them, assemble at the last possible moment, eat immediately, repeat. Insulated plates, covered containers, and a sheltered serving station can all reduce exposure while people gather. They are practical help, not magic force fields.
Cold-weather dog card: fill this in only when the exact build is chosen
Yield: [number of servings]
Ingredients:
- [verified hot dog product or selected hot-dog style]
- [bun type]
- [warm topping, if used]
- [finishing accent, if used]
- [cooking fat or water, if needed for the selected method]
Method: Warm and cover the buns. Heat the selected dogs according to their package directions, then finish briefly for browning or snap if desired. Warm any substantial topping. Build one dog at a time in a sheltered spot: bun, dog, warm topping, finishing accent. Serve immediately.
Follow @jasonsgrub on Instagram for more real-place, real-product, recipe, and hot-dog culture coverage.
Enjoyed this? There's more from Jason's Grub.
Follow on Instagram →