Steam, Simmer, or Grill? A Texture-First Guide to Cooking Different Hot Dog Styles
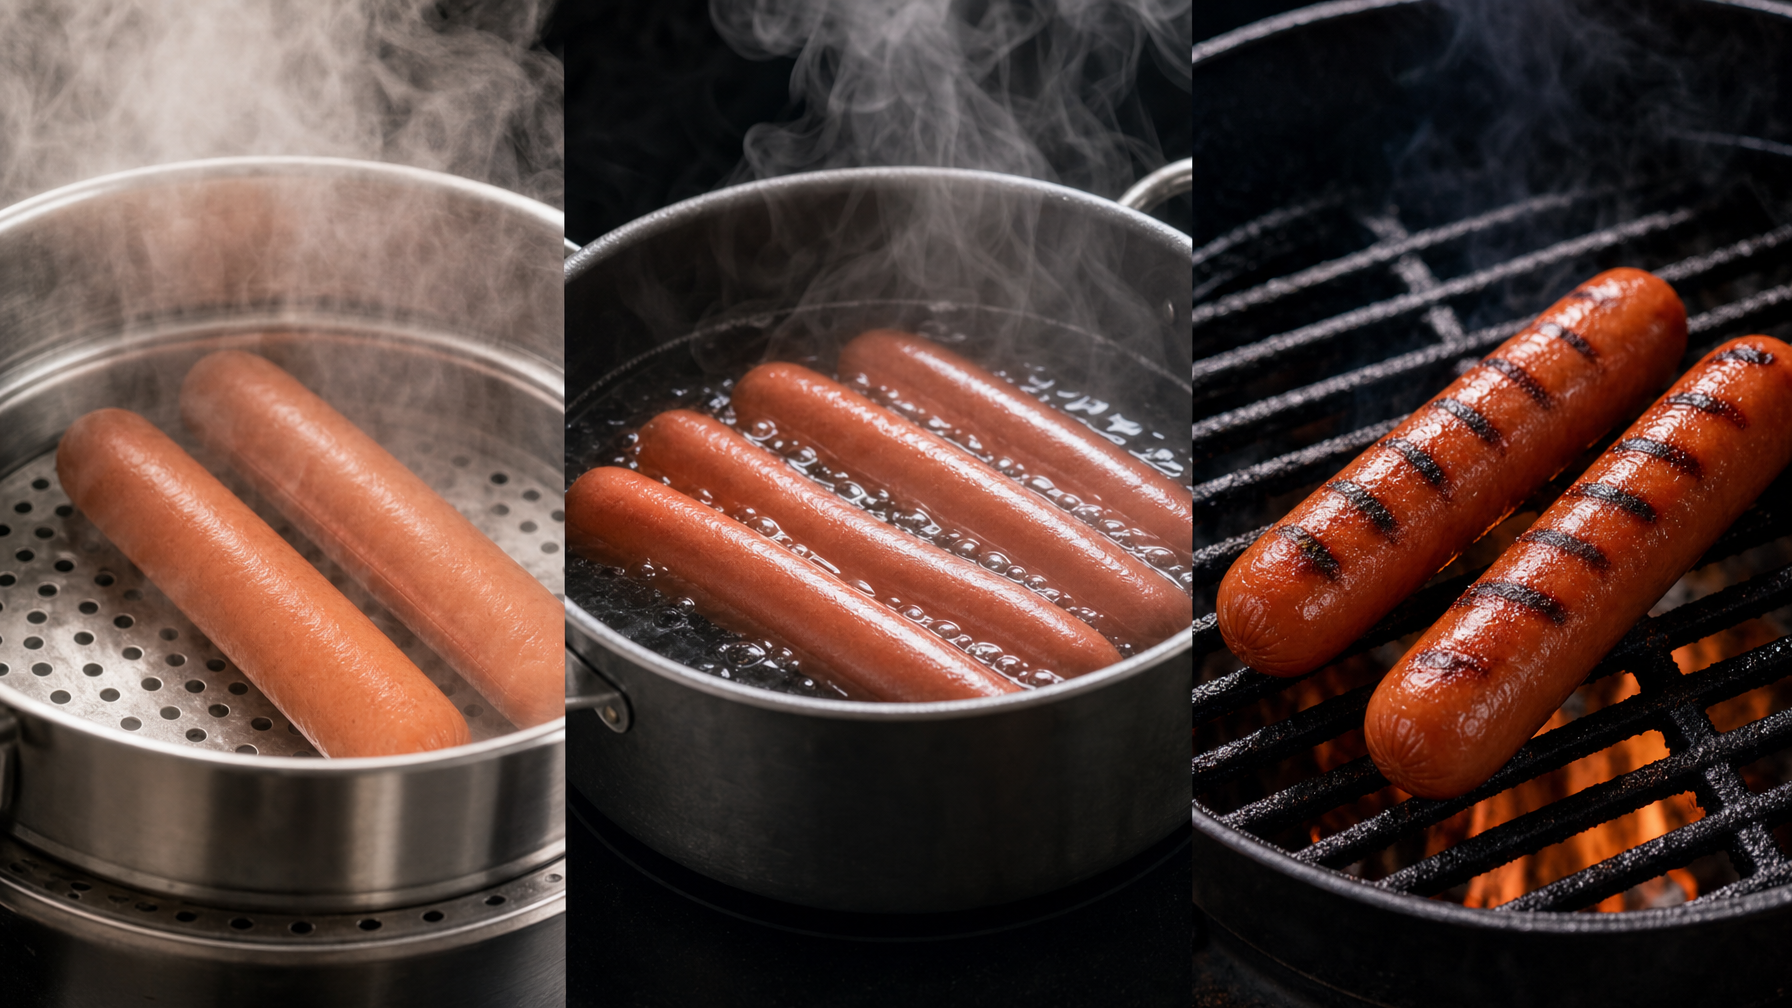
For hot-dog fans who care about the bite—not merely getting lunch warm—steam for soft and juicy, simmer for plump and even, and grill for browned, snappy drama. The right move depends on the dog’s casing, thickness, and your appetite for char. A natural-casing dog that deserves a little applause? Grill it. A delicate dog headed for a pillowy bun? Steam it. A thick dog feeding a small mob? Simmer it gently, then decide if it needs a quick trip over the flames.
Steam, Simmer, or Grill? The Short Answer
These methods are ways to heat an already prepared hot dog. They are not interchangeable with cooking raw sausage from scratch, which requires its own handling and package-specific cooking directions.
- Steam when you want a tender, juicy dog with a soft exterior and little to no browning.
- Simmer when you want even heating, a plump bite, and an easy way to handle several dogs at once.
- Grill when you want char, blistered casing, browned flavor, and a firmer, more pronounced snap.
Jason’s opinion, delivered without a tiny violin: if a hot dog has a good casing, grilling creates the biggest texture payoff. But steaming is the calmer, smarter choice for delicate dogs or anyone chasing that classic soft bite. Not every meal needs to arrive smelling like it escaped a campfire.
Texture First: What Each Method Actually Does
“Texture” is not just snap. It is the combined effect of casing resistance, exterior firmness, interior juiciness, and surface browning. A hot dog can be juicy but soft, browned but dry, or snappy and succulent. The point is to choose on purpose rather than letting the burner make executive decisions.
Steaming: moist heat, gentle exterior
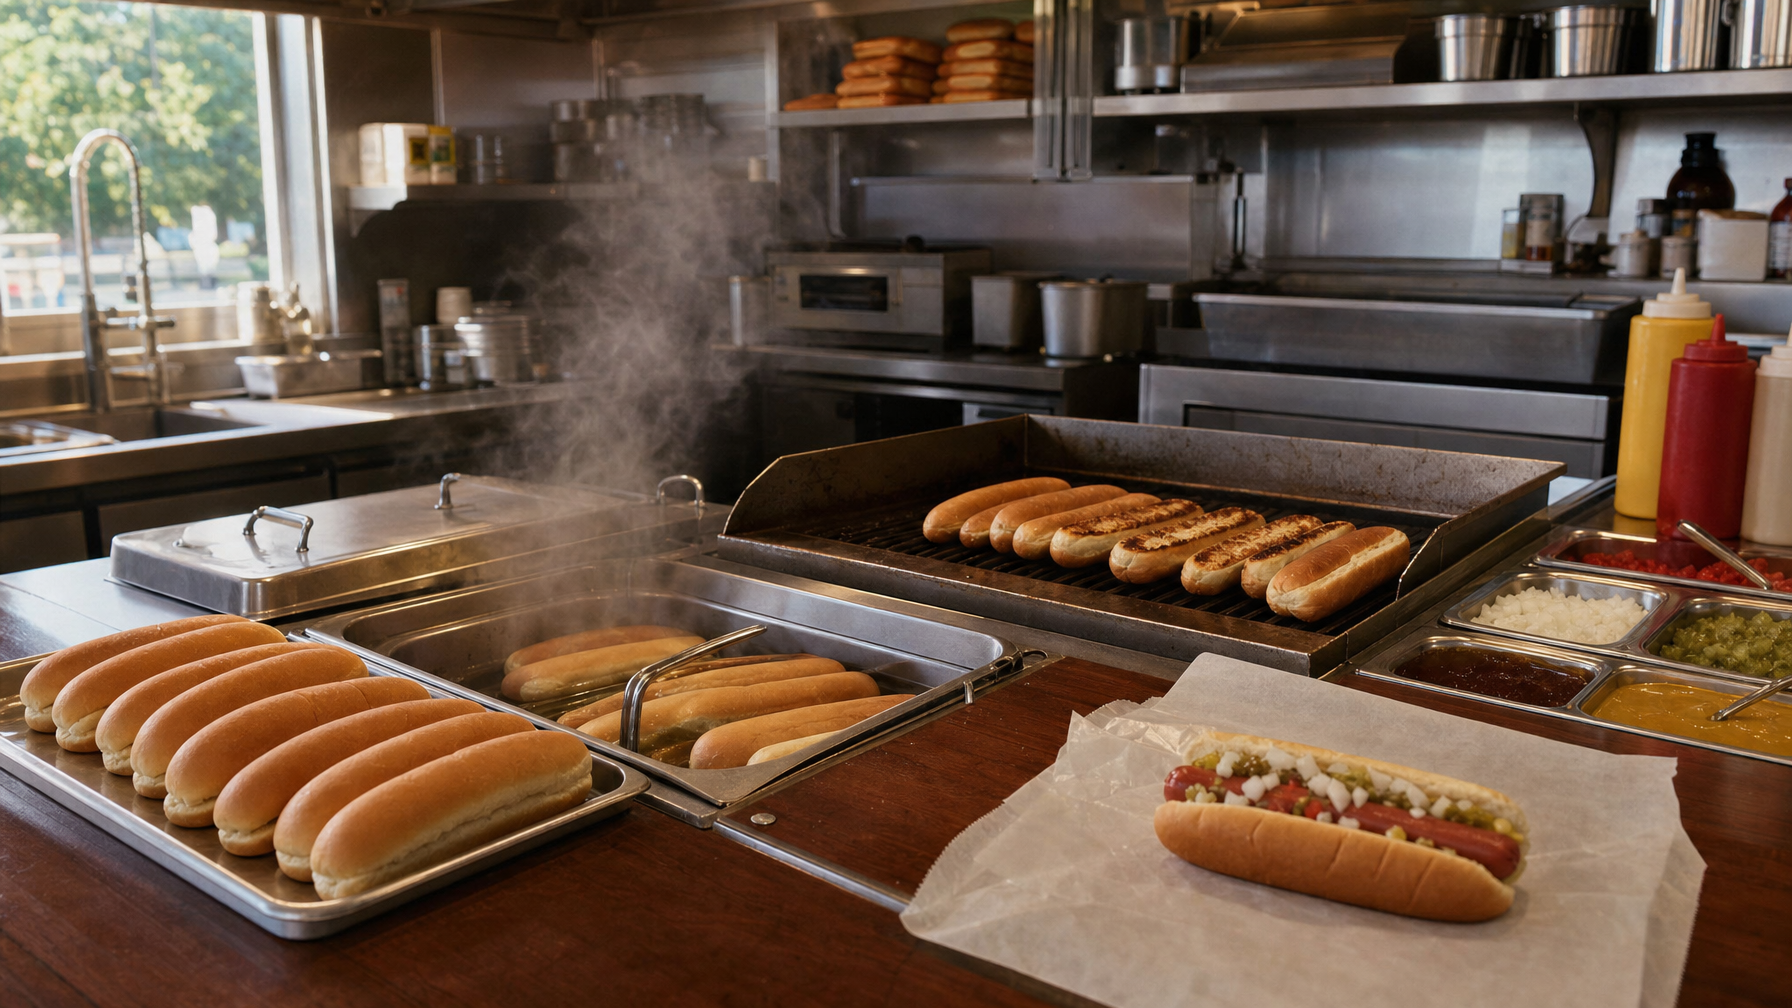
Steam heats the dog with moist, surrounding heat while limiting direct contact with a hot surface. The exterior stays soft and pale, the inside warms gently, and browning is minimal. This is a good route when the bun is part of the soft-texture mission.
Simmering: even heat and a plump profile
Simmering surrounds the dog with hot water, helping it warm evenly. The surface generally remains tender and pale, while the dog can take on a fuller, plumper feel. It is controlled heating, not a magic flavor bath.
Grilling: browned edges and a firmer bite
Grilling puts the surface over direct heat. That creates browning, firmer edges, and potentially a more noticeable casing snap. It can also dry the exterior or split a casing if the heat is too fierce or the dog stays on too long. The grill is a texture tool, not a crematorium.
The final result also depends on the dog itself: natural or skinless casing, thickness, fat content, seasoning, and whether it is fully cooked or raw. Heat method matters, but it is not the only character in this meaty little play.
Choose the Method by Hot Dog Style
Think of hot-dog styles as texture decisions, not rigid regional law. The same dog can work beautifully with more than one method; the method should serve the bite you want.
Natural-casing dogs
If the casing snap is the headline act, grilling is usually the move. A brief steam-then-grill finish also works when you want the center warmed gently before adding color. Handle these dogs gently, and do not pierce them unless releasing juices is somehow part of your personal agenda.
Skinless dogs
Steaming and simmering preserve a soft, juicy texture. Grilling can add useful browning, but the outside may become firmer more quickly because there is no natural casing providing that particular snap.
Thick dogs
Thicker hot dogs benefit from steaming or simmering because those methods warm the center without scorching the surface. For color and contrast, finish them briefly on the grill once they are hot through.
Thin dogs
Thin dogs grill quickly, which is both convenient and mildly treacherous. Their surface can dry, wrinkle, or split faster than a thicker dog’s, so stay nearby and turn them regularly.
Heavily seasoned or specialty dogs
Choose the method based on the flavor you want to emphasize. Grill for browned, smoky notes that can stand beside bold seasoning. Steam for a cleaner read on the dog’s own seasoning. Neither choice is morally superior. Except ketchup, which remains a personal no from Jason.
How to Steam a Hot Dog Without Turning It Into a Sauna Experiment
Steaming is simple: place the hot dogs above—not in—simmering water, cover the pot, and heat until warmed through. Use a steamer basket, a rack that safely sits above the water, or another setup that keeps the dogs out of direct contact with the water.
Method
- Add a small amount of water to a pot and bring it to a gentle simmer.
- Place hot dogs in a steamer basket or on a rack above the water.
- Cover the pot to trap steam.
- Heat until the dogs are warmed through, checking occasionally rather than abandoning them to tropical conditions.
- Serve right away, ideally with warmed buns.
Texture result
Expect a tender, juicy dog with a soft exterior and almost no browning.
Best use cases
- Soft, classic bun-and-dog builds
- Skinless or delicate dogs
- Meals where you are warming buns at the same time
- Anyone seeking juiciness without grill flavor
Common mistake
Do not let the water boil violently or pierce the dog. Aggressive heat and holes are an excellent way to lose juice and reduce whatever snap the dog had to offer.
Optional finish
Want a touch of color without giving up the soft interior? Give the steamed dog a very brief finish in a hot pan or on a grill. Keep it short; the steaming already did the warming work.
How to Simmer for the Plump, Evenly Heated Bite
Simmering is the dependable stovetop move when you are cooking a batch or dealing with thicker dogs. Place the hot dogs in hot water and keep the water below a hard boil. The goal is steady, gentle heat—not a rolling-water wrestling match.
Method
- Fill a pot with enough water to cover the hot dogs.
- Bring the water to a gentle simmer, not a vigorous boil.
- Add the hot dogs and heat until warmed through.
- Remove them promptly and serve.
Texture result
You get an evenly heated, tender dog with a plump appearance and little surface browning.
Best use cases
- Cooking several hot dogs with consistent results
- Warming thick dogs without scorching their outsides
- Low-fuss stovetop cooking
Common mistake
Leaving dogs in the water indefinitely softens the exterior and can make the overall bite feel washed out. Simmering is not a holding strategy for the rest of the afternoon.
Optional finish
For a plump center plus exterior character, simmer first and grill briefly afterward. The water handles even heating; the grill supplies browning and casing texture.
How to Grill for Browning, Blisters, and Snap
Grilling is for people who want their hot dog to have a little edge—literally. Preheat the grill and use moderate heat so the outside can brown before it burns or splits.
Method
- Preheat the grill to moderate heat.
- Place the hot dogs over direct heat, leaving enough room to turn them.
- Turn regularly to brown the surface evenly.
- For thicker dogs, move them to a cooler area if the exterior darkens before the center is hot.
- Remove once the exterior is browned and the dog is warmed through.
Texture result
Expect browned flavor, firmer edges, some blistering, and the strongest opportunity for noticeable snap—especially with a natural casing.
Best use cases
- Natural-casing hot dogs
- Anyone craving a browned or lightly smoky exterior
- Builds that benefit from a sturdy bite under crunchy or acidic toppings
Common mistake
Parking a dog in one scorching spot and hoping grill marks solve everything. Turn it regularly. Grill marks are not the entire point; a browned, firm exterior with a juicy center is.
Use two zones when possible
If your grill allows it, keep one hotter direct-heat area for browning and one cooler area for finishing. This is particularly helpful for thicker dogs. A little blistering can be glorious; a full casing split sends the good stuff dripping into the fire.
Jason’s position: a hot dog should not require a charcoal rescue mission. Use the grill to build texture, not to incinerate lunch.
The Hybrid Method: Steam First, Grill Last
The steam-then-grill approach is optional, not a commandment carved into a bun tray. It is especially useful for thick dogs or for cooks who want a juicy center and browned exterior without relying entirely on grill time.
- Steam or gently simmer the dog until warmed through.
- Transfer it to a preheated grill.
- Grill briefly, turning as needed, until the surface browns and the casing develops texture.
- Serve immediately.
Moist heat handles the interior warming; direct heat adds contrast. The caution is simple: because the dog is already hot, the grilling stage should be short and watched closely. This is a finish, not a second full cooking shift.
Matching the Bun and Toppings to the Texture
A hot dog is not eaten in a vacuum, unless somebody has invented an extremely strange concession stand. The bun and toppings can reinforce the texture you chose or fight it.
For steamed dogs
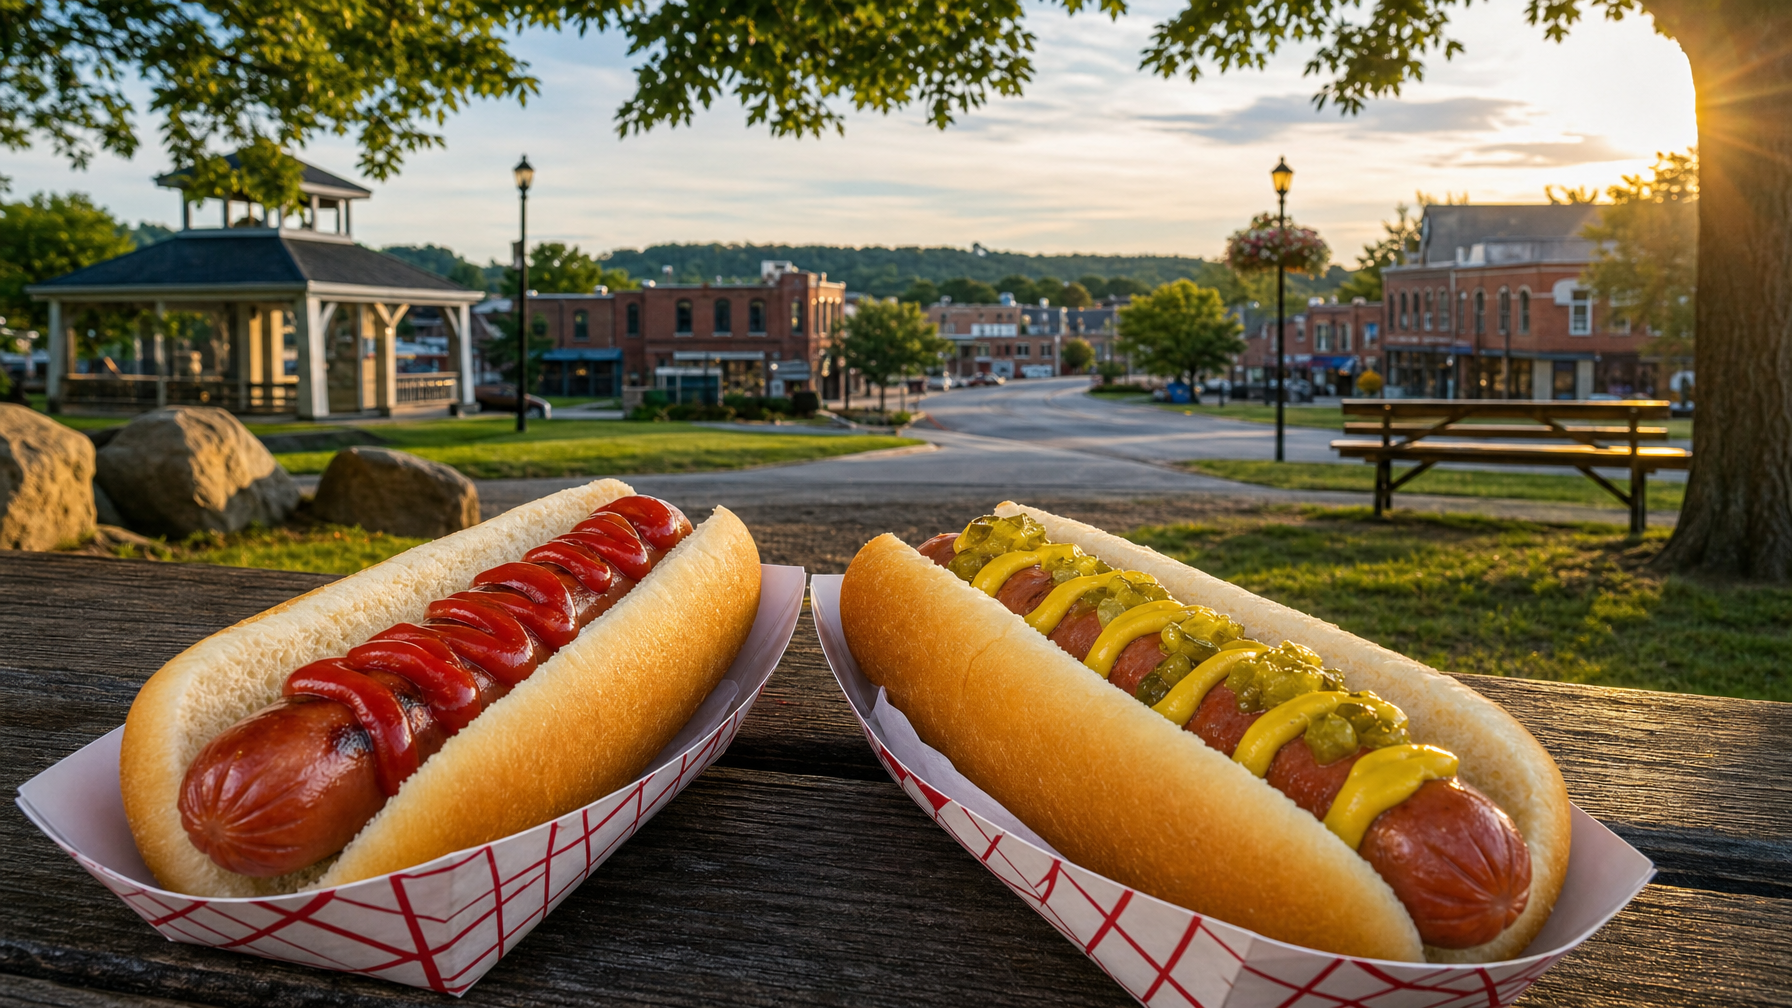
Soft, warm buns make sense with a steamed dog’s tender bite. Mustard, relish, onions, and other condiments you enjoy can add sharpness or crunch without asking the dog to become something it is not.
For grilled dogs
Grilled dogs play well with toppings that bring crunch, acidity, or heat. A toasted bun adds another firm texture layer and helps prevent the whole situation from becoming soft beneath a charred dog.
Build for balance, not dogma
There is no universal topping formula. Think in contrasts: soft with crisp, rich with acidic, smoky with bright, spicy with creamy. And, as a matter of Jason’s stated taste rather than culinary law, no ketchup.
Common Cooking Mistakes That Flatten the Bite
- Boiling aggressively: Rough water can split casings and makes the result less controlled.
- Holding dogs in hot water too long: The exterior can become overly soft and less lively.
- Using excessive grill heat: The casing can burn before the center has warmed properly.
- Cutting or piercing before cooking: Juice can escape. Decorative scoring can be intentional, but it should not be a reflex.
- Crowding the grill or steamer: Heat moves less evenly when dogs are packed together.
- Waiting too long to serve: Texture shifts as the dog cools and the bun absorbs moisture.
A Quick Decision Guide
| Choose this method | When you want |
|---|---|
| Steam | A soft, juicy texture; gentle handling for delicate dogs; warm buns; minimal browning. |
| Simmer | Even heating; easy batch cooking; a forgiving stovetop method; help with thick dogs. |
| Grill | Casing snap; browned edges; blistered exterior; smoky flavor. |
| Steam or simmer, then grill | The broadest contrast between a juicy interior and browned exterior. |
Before choosing the heat source, ask one useful question: Should this bite be soft, plump, or snappy? Once you answer that, the method usually stops being mysterious.
FAQ
Is steaming or simmering better for a hot dog?
Neither wins universally. Steaming usually produces a softer bite, while simmering is convenient for even batch heating and can give the dog a plumper feel. Choose based on the texture you want.
Should I boil hot dogs before grilling them?
You can steam or gently simmer first, then grill briefly, particularly with thicker dogs. It is optional: grilling alone works well when you want browning to do more of the work. Avoid a hard boil, which can split casings.
How do I stop hot dogs from splitting on the grill?
Use moderate heat, turn them regularly, and avoid piercing the casing. If the exterior darkens too quickly, move the dogs to a cooler part of the grill to finish warming through.
Which method gives the best snap?
A natural casing paired with direct grilling generally creates the most noticeable snap, as long as the casing browns without burning or splitting.
Can I use these methods for raw sausages?
Not automatically. Raw sausages need their own safe-cooking instructions and should not be treated like fully cooked hot dogs. Follow the package directions and make sure they are cooked appropriately.
Enjoyed this? There's more from Jason's Grub.
Follow on Instagram →