Grill Marks Are Not a Personality: A Low-and-Slow Hot Dog Recipe for Better Casing Snap
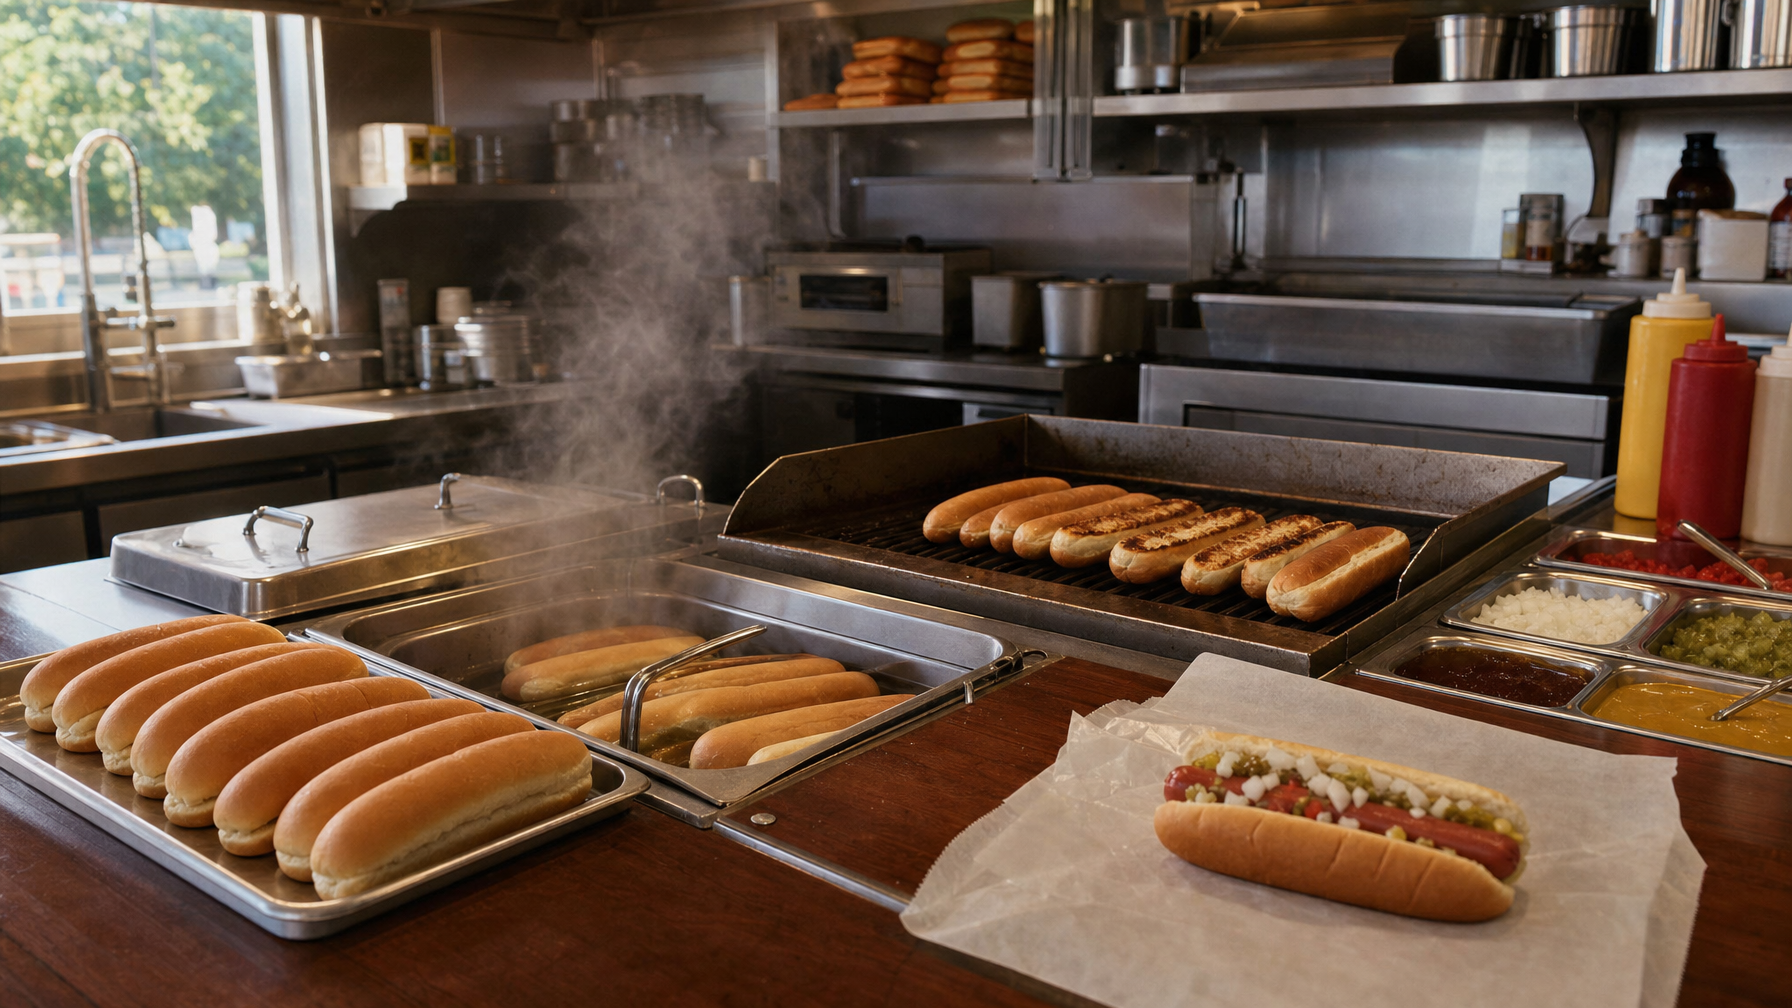
For hot-dog enthusiasts who want a real casing snap instead of a steakhouse tan line, the move is simple: warm the dog gently first, then finish it over higher heat for quick browning. Dark grill stripes can look very photogenic, but they do not prove the center is hot, juicy, or remotely pleasant. This method is for people who care about texture and flavor more than decorative scorch marks.
Grill Marks Are Not a Personality. The Snap Comes First
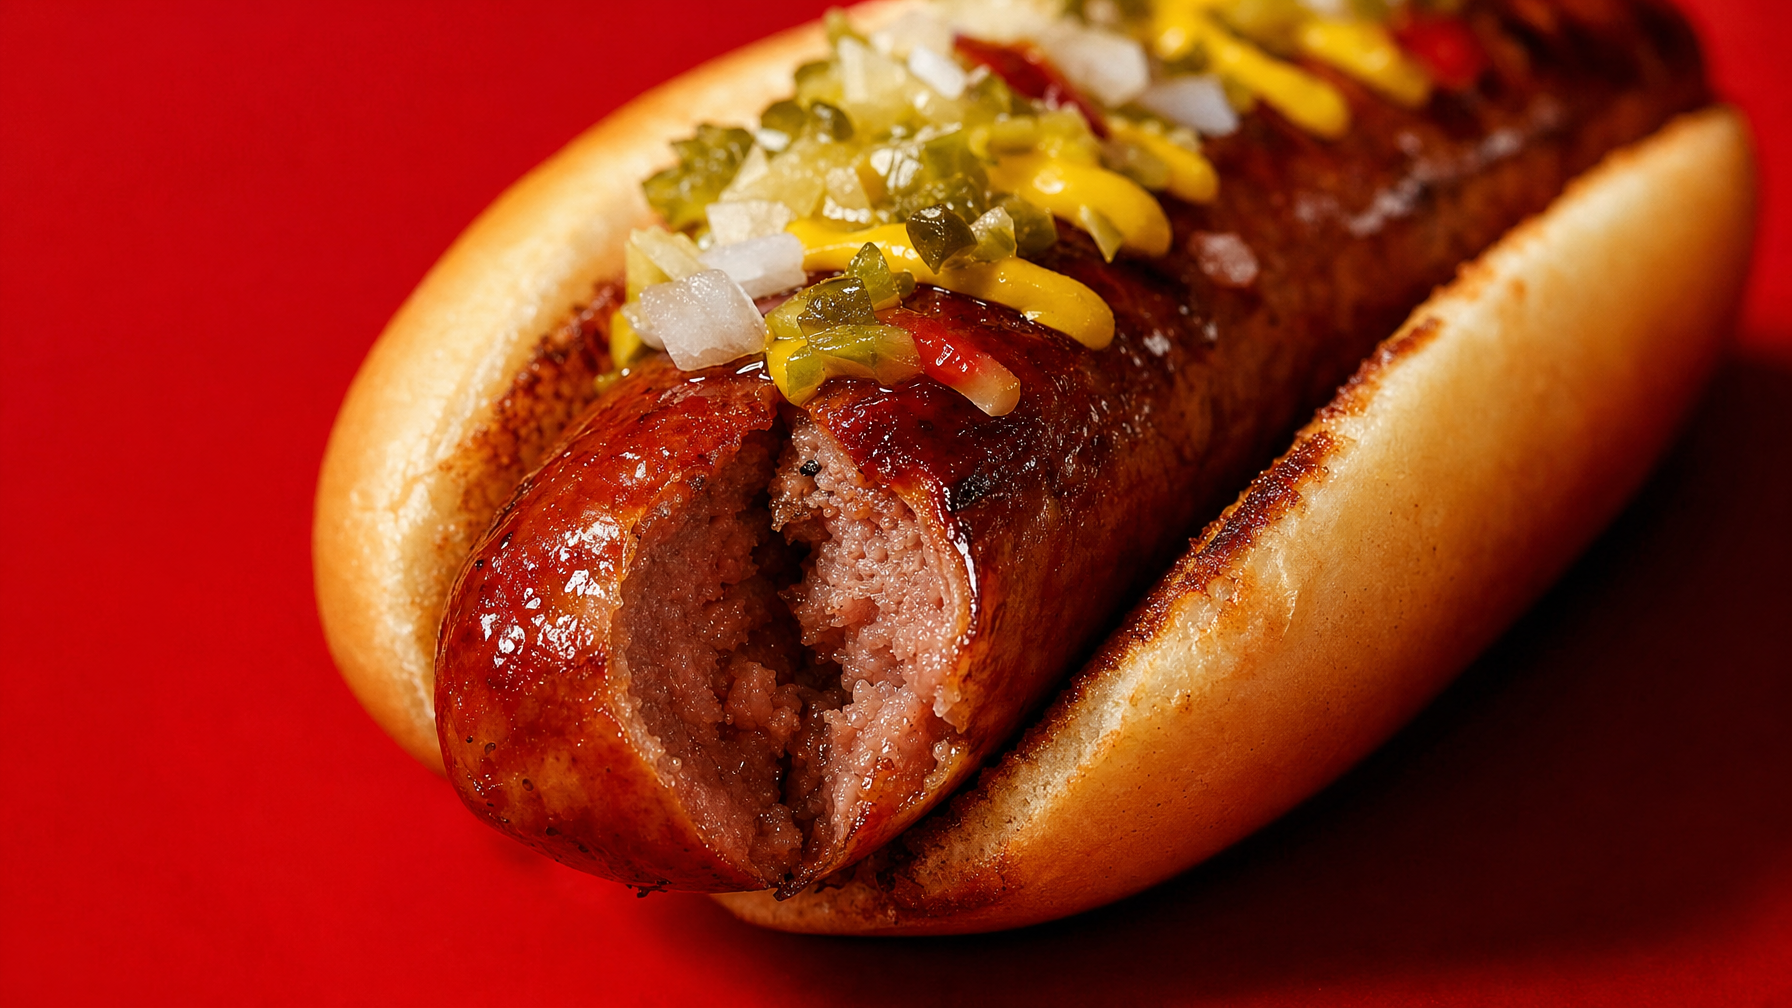
A good grilled hot dog should offer a brief, firm resistance when you bite through the casing, then give way to a hot, juicy interior. That is casing snap. It is not toughness, and it is definitely not the dry, squeaky sensation of a dog left over a flame until it resembles a tiny tire.
This recipe is built for natural-casing hot dogs, or products specifically sold as snap-style dogs. Those casings can deliver the crisp bite people chase. Skinless hot dogs are welcome at this cookout too, but they will have a softer exterior and a different final texture. No amount of grill-pageantry can install a casing that is not there.
The point is not to produce black bars for the camera. The point is to preserve a plump dog, heat it evenly, and give its exterior a fast, controlled finish.
Give the Dog a Gentle Warm-Up Before the Drama
Gather the uncomplicated cast
- Natural-casing or snap-style hot dogs
- Hot dog buns
- A grill that can create a cooler zone and a hotter zone
- Tongs
- Optional toppings, such as mustard, chopped onions, relish, or butter for the buns
Set up a two-zone grill. On a gas grill, leave one burner lower or off and use the other side for medium-high finishing heat. On a charcoal grill, bank the coals to one side so the other side cooks with indirect heat. The details vary by grill, but the objective stays blessedly simple: one calm neighborhood, one rowdy neighborhood.
Start the dogs in the calm neighborhood. Gentle, indirect or low heat gradually warms the center while giving the casing a fighting chance to stay intact. Turn them occasionally for even warming, but do not poke, press, squeeze, or compulsively roll them. A hot dog is not a stress ball.
Patient First, Dramatic Later
Stage one: Warm through on low or indirect heat
Place the hot dogs on the cooler side of the grill and close the lid if your grill has one. Turn them occasionally. You are looking for a dog that becomes hot and plump throughout without a burst casing. Do not chase a universal clock time here. Grill temperature, outdoor weather, the dog’s thickness, and its starting temperature all alter the pace.
When the dogs look gently heated and feel resilient rather than stiff, they are ready for their brief public performance.
Stage two: Finish over direct medium-high heat
Move the warmed dogs to direct medium-high heat. Turn them frequently for light, even browning and a few modest blisters. This part should be brief and attentive. You are adding grilled flavor, not conducting an arson investigation.
If a flare-up arrives, move the dogs back to the cool zone immediately. The two-zone setup exists for exactly this sort of grill melodrama.
Stage three: Toast the buns at the end
Open the buns and place them cut-side down near the heat during the final moments. Keep them away from flare-ups and remove them once they are warm with a little toast on the interior. A lightly toasted bun supports the dog. A charred bun tastes like someone lost focus for twelve seconds.
Rest, briefly
Let the finished dogs sit for a short moment before building. This small pause lets the exterior settle and helps keep the hot juices in the dog rather than on your shirt.
Heat Control Is the Whole Plot, Not a Side Character
There are two jobs happening on this grill. Cooking heat warms the interior evenly. Finishing heat browns the outside and develops the grilled flavor. Asking roaring direct flame to perform both jobs from the start is how you get a split casing and a center that may still be less warm than it ought to be.
Low or indirect heat is the quiet part. It gives the dog time to heat through while reducing the risk that the casing contracts and ruptures early. Direct medium-high heat is the quick finale. It supplies color and light blistering after the inside is already hot.
A properly finished dog should be hot throughout, lightly browned, visibly plump, and mostly intact. If it has split open and shriveled, the grill won that round. Regroup. Eat it anyway. Learn something.
Casing-Snap Enemies Are Sneaky Little Goblins
- Starting over high heat: The casing can split before the center warms through.
- Overcooking: Excess time on the grill dries the interior and turns a satisfying bite into rubbery business.
- Cutting slits in the casing: Slits may reduce dramatic splitting, but they also let juices escape and interrupt the intact snap this recipe is trying to protect.
- Squeezing with tongs: Use tongs to turn, not to interrogate.
- Ignoring flare-ups: Flames can scorch one side before you have time to say “artisanal grill mark.” Move the dog to the cooler zone.
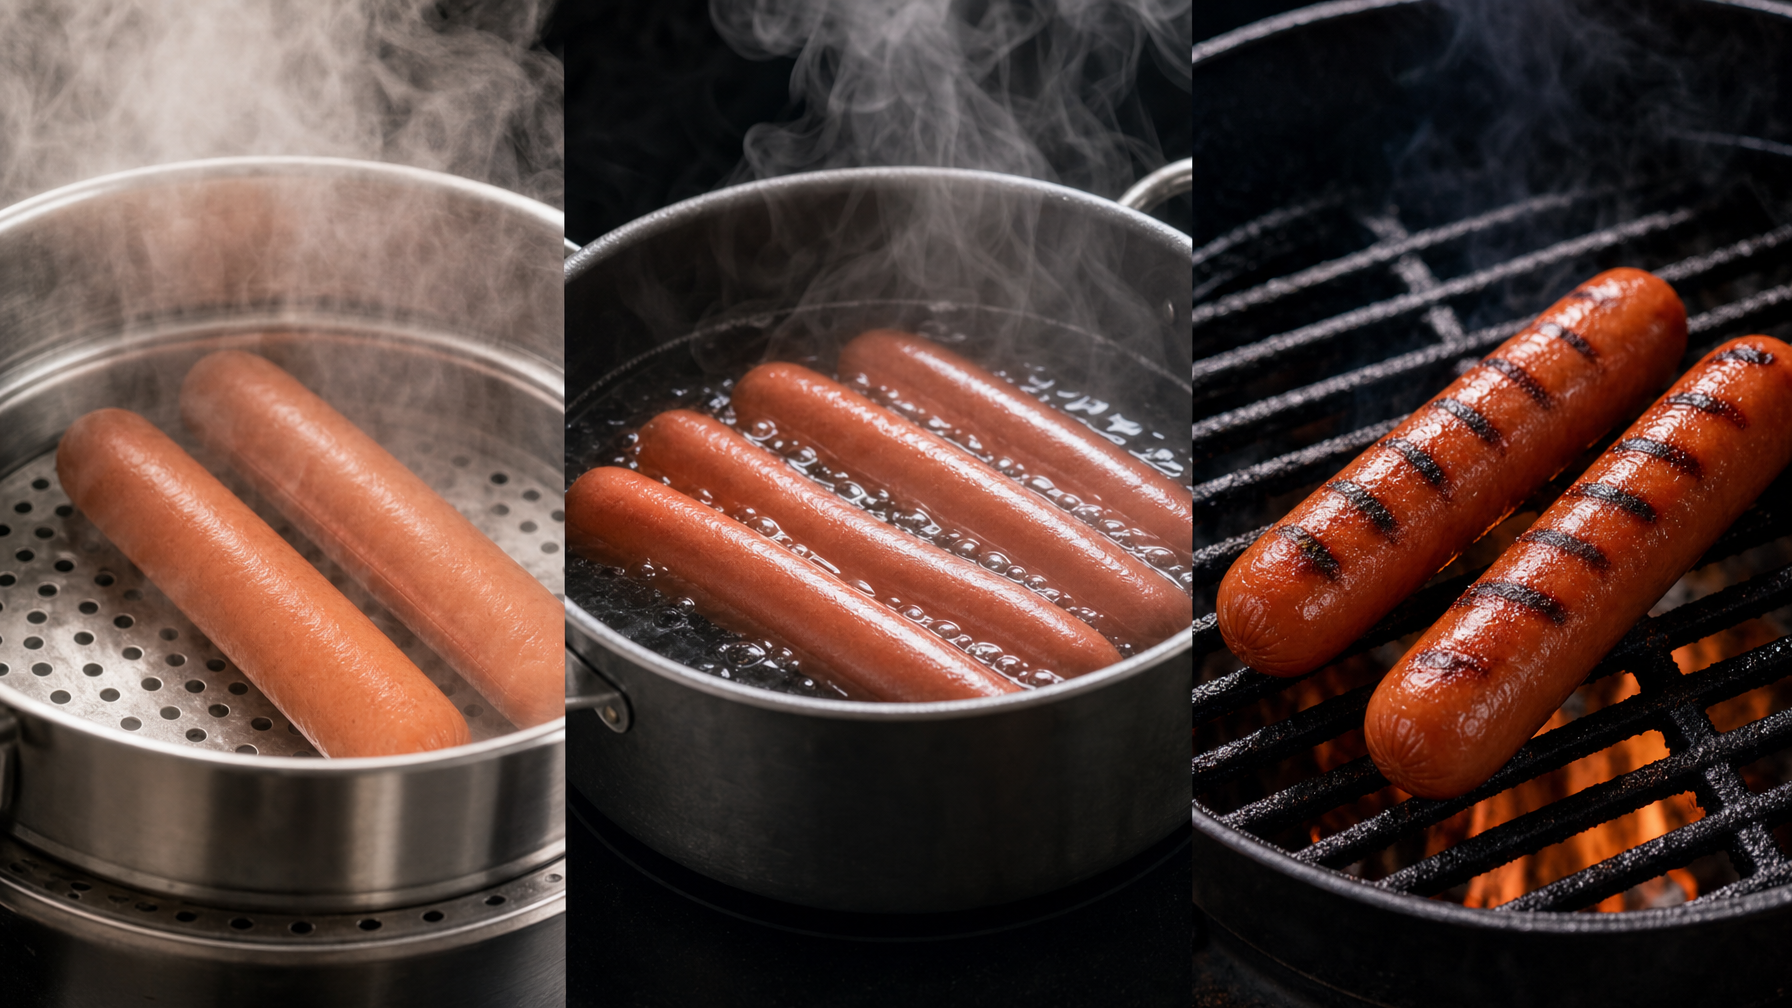
Steaming and boiling can warm a hot dog, and they have their own place in the hot-dog universe. This method chooses gentle grill heat because it prioritizes grilled flavor alongside casing texture. The dog itself still matters enormously. A naturally snappy casing brings more texture to the party than a skinless dog ever will.
Build the Plate Without Burying the Evidence
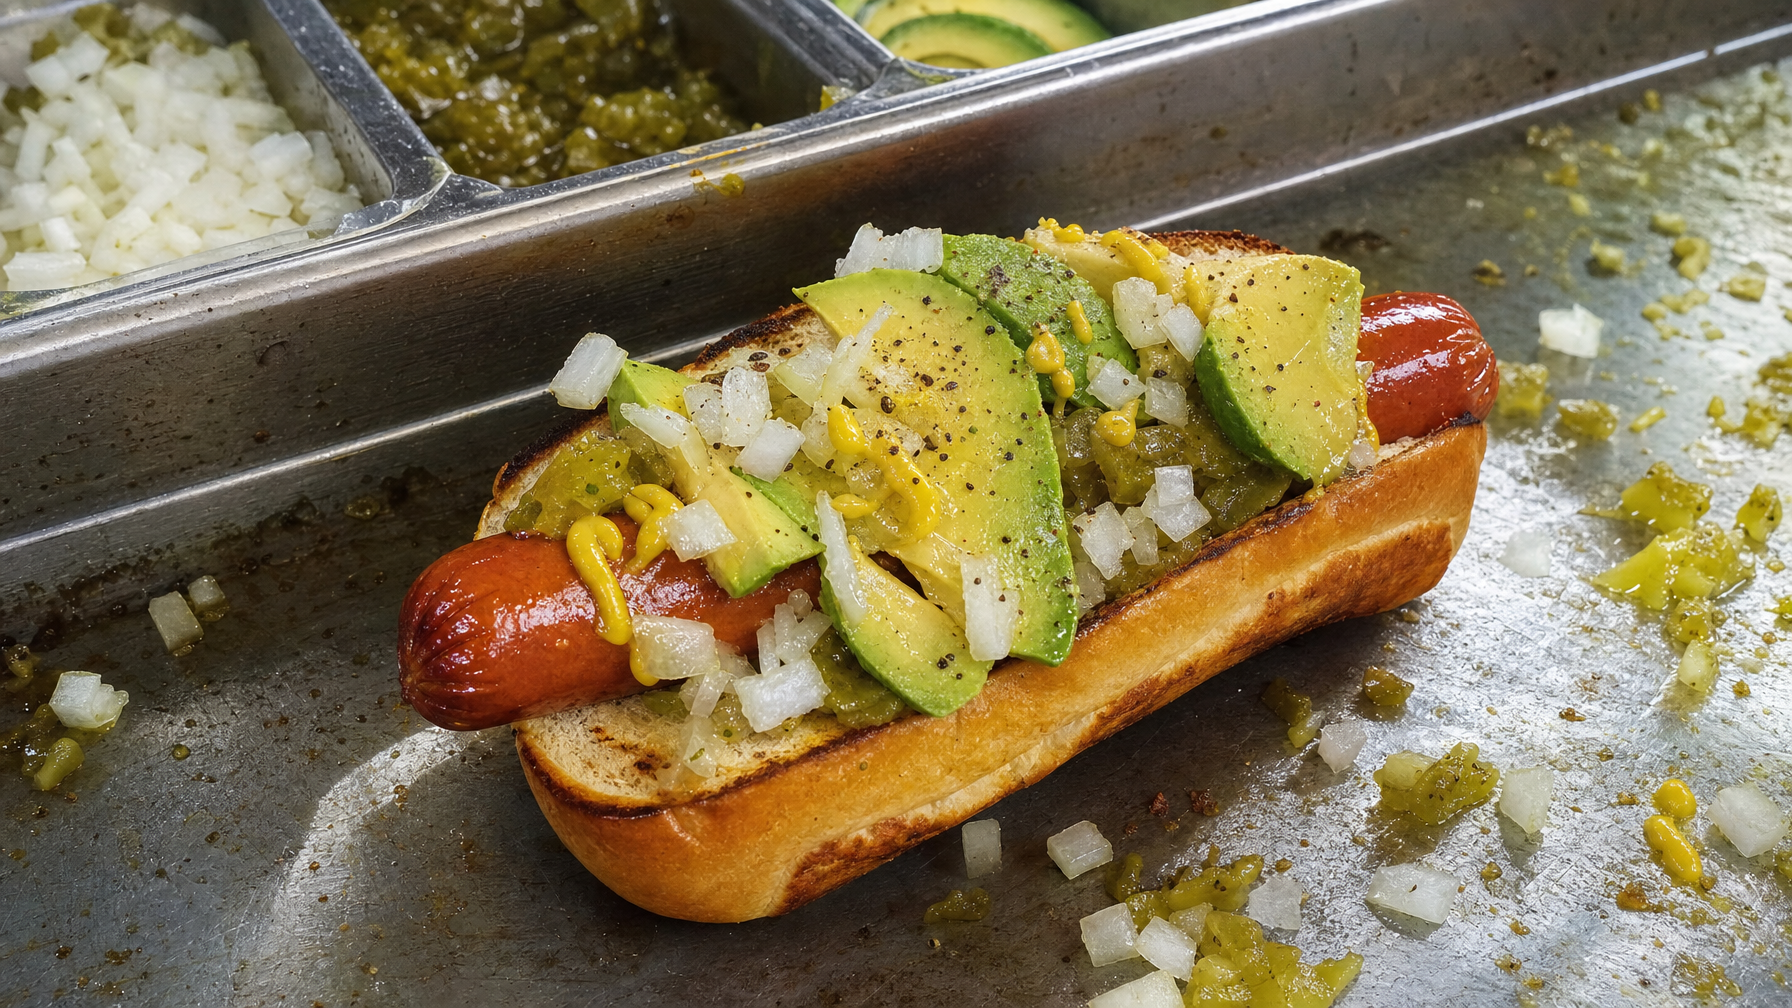
Put the dog in a lightly toasted bun that fits it without crushing it. The bun is support staff, not the lead singer. Add toppings with restraint, especially before the first bite. A mound of wet toppings can soften both bun and casing before the dog gets to make its case.
Four sensible directions
- Mustard-forward: A clean stripe of mustard lets smoke, salt, and snap stay audible.
- Onion-heavy: Add finely chopped raw onions for crunch and bite.
- Relish-based: Use a modest amount of relish for sweet-tangy contrast, not a small pond.
- Buttered-bun finish: Butter the cut sides of the bun before toasting and serve the dog simply.
Ketchup is not part of this build. That is Jason’s stated position, delivered here as a matter of taste and self-respect, not a universal law enforced by hot-dog police. Use what you enjoy. Just do not bury the evidence before judging the snap.
A Better Bite Test Than Counting Grill Stripes
Before calling the batch a success, ask four questions:
- Did the casing offer a noticeable, crisp resistance to the first bite?
- Did the interior stay juicy rather than dry or rubbery?
- Was the dog hot in the center?
- Did the toasted bun hold together without swallowing the whole operation?
If the casing split, lower the starting heat next time or shorten the direct-heat finish. If the center was not hot enough, give the dogs more time in the gentle warming stage before moving them over the hotter side. Record the grill setup and the style of hot dog you used. Repeatability beats worshipping one magic minute count, because grills and casings both enjoy making liars of recipes.
For more hot-dog finds, recipes, and food-culture opinions, follow @jasonsgrub on Instagram.
FAQ: Questions From People Who Refuse a Soggy Dog
Can I use this method for skinless hot dogs?
Yes. Expect a softer bite, because skinless dogs do not provide the same casing snap. Handle them gently and watch them closely during the direct-heat finish, since their surface can split or dry out quickly.
Should I boil the hot dogs before grilling?
Not for this method. The low or indirect grill zone warms the dogs gradually, then the brief direct-heat stage adds browning and grilled flavor.
How do I stop the casing from splitting?
Start over lower heat, avoid pressing or cutting the dogs, and move them away from flare-ups as soon as they appear. Some splitting can still happen, depending on the casing and the grill. The goal is to reduce it, not promise supernatural casing control.
How long should the low-and-slow stage take?
Let grill temperature and the dog’s condition lead rather than relying on one fixed time. The dog should be heated through, plump, and still intact before its brief finish over direct heat.
What toppings work best with a snappy dog?
Start with restrained toppings that let the casing speak for itself. Mustard, onions, relish, and a lightly toasted bun add contrast without turning the dog into a topping landfill.
Enjoyed this? There's more from Jason's Grub.
Follow on Instagram →